Shopify sections have been such a wonderful addition to creating interesting and unique online stores. They allow developers to create styled blocks that can be modified by the store's admins. This allows shop owners a great deal of flexibility in keeping the content on their store current.
In the world of sections there are dynamic sections that can be added to the homepage and static sections that can be added to other pages.
The slight downside to static sections is that you can't add multiple versions of the section to a page like you can with dynamic sections.
The upside is that we can add multiple blocks within a section which gives us a way to sort of fake a dynamic section.
In this tutorial we'll be going through how to create a section with multiple different blocks.
The File Structure
Here are the the files that we will be working with within the shopify theme.
🔥 TIP - This is not a complete theme, if you don't already have a theme, we recommend starting with Slate by Shopify and we have a post on how to set it up.
We create the new section in the sections folder. We create snippets that define the layout of each block in the snippets folder. We've also created a new page template to display this section (since we only want it to show up on one page and not the base page template).
File structure
      -src
        --sections
          ---multi-section.liquid
        --snippets
          ---snippet_first-section
          ---snippet_second-section
          ---snippet_third-section
          ---snippet_fourth-section
        --templates
          ---page.multi_section.liquid
Creating the section
The first thing we're going to to is define our section. To do that, we created a file called multi-section.liquid in our sections folder.
We then create a for loop that loops through all the blocks in a section. In the loop we have a case statement. The when refers to a block type and for each we associate a specific snippet with the include statement.
src/sections/multi-section.liquid
        {% for block in section.blocks %}

          {% case block.type %}

            {% when 'first-section' %}
            {% include 'snippet_first-section' %}

            {% when 'second-section' %}
            {% include 'snippet_second-section' %}

            {% when 'third-section' %}
            {% include 'snippet_third-section' %}

            {% when 'fourth-section' %}
            {% include 'snippet_fourth-section' %}

          {% endcase %}

        {% endfor %}
The following code is a JSON object used to define the block types.
It is an object with an array of block objects. Each block has a type (which matches the above when statements), a name (which the admin will reference), and settings. The settings is another array of objects that define what types of options the admin will be able to choose from. Note that although I've just added an image picker to each, they do not have to have the same settings in each block.
For a guide to what kind of settings are available you can refer to our post.
src/sections/multi-section.liquid
      {% schema %}
        {
          "blocks": [
            {
              "type": "first-section",
              "name": "First Section",
              "settings": [
                  {
                  "id": "imageOne",
                  "type": "image_picker",
                  "label": "Image"
                }
              ]
            },
            {
              "type": "second-section",
              "name": "Second Section",
              "settings": [
                  {
                  "id": "imageOne",
                  "type": "image_picker",
                  "label": "Image"
                }
              ]
            },
            {
              "type": "third-section",
              "name": "Third Section",
              "settings": [
                  {
                  "id": "imageOne",
                  "type": "image_picker",
                  "label": "Image"
                }
              ]
            },
              {
                "type": "fourth-section",
                "name": "Fourth Section",
                "settings": [
                    {
                  "id": "imageOne",
                  "type": "image_picker",
                  "label": "Image"
                }
              ]
            }
          ]
        }
      {% endschema %}
We can also add styles directly inside the section file with {% style %} tags. This is only necessary if the style is something that the admin picks. Otherwise, you could also use the regular stylesheets.
      {% style %}
      .grid {
        display: flex;
        max-width: 900px;
        margin: 0 auto;
      }
      .grid-item {
        margin-right: 24px;
      }
      .grid-item:last-of-type {
        margin-right: 0px;
      }

      {% endstyle %}
Displaying section data
Once we have the section defined, we want create the markup for each section block. For organizational purposes we chose to extract the code out into snippets and then use the include tag (as above) in the section file.
Here's an example of the first snippet.
We reference the info that was chosen per block with block.settings.id. The reference to block here comes from the case statement {% for block in section.blocks %} in the secton.
In our case the only real difference between the sections is the title that we've hard-coded into each snippet, however, in practice you could make each block radically different with different option and markup.
src/snippets/snippet_first-section.liquid
First Section

Adding the section to the page.
The final step is to include the section in the page template. This is as simple as including the section tag with the name of the section file (minus the .liquid)
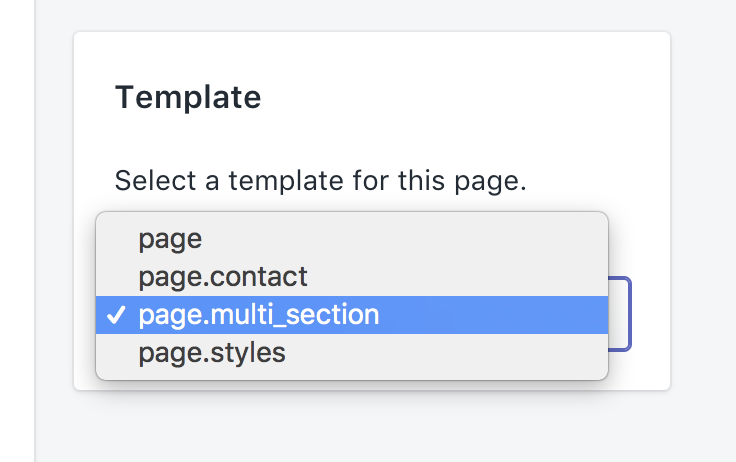
For this section we also created it's own page template. Note that it must follow the naming convention of page.**.liquid
src/templates/page.multi_section.liquid
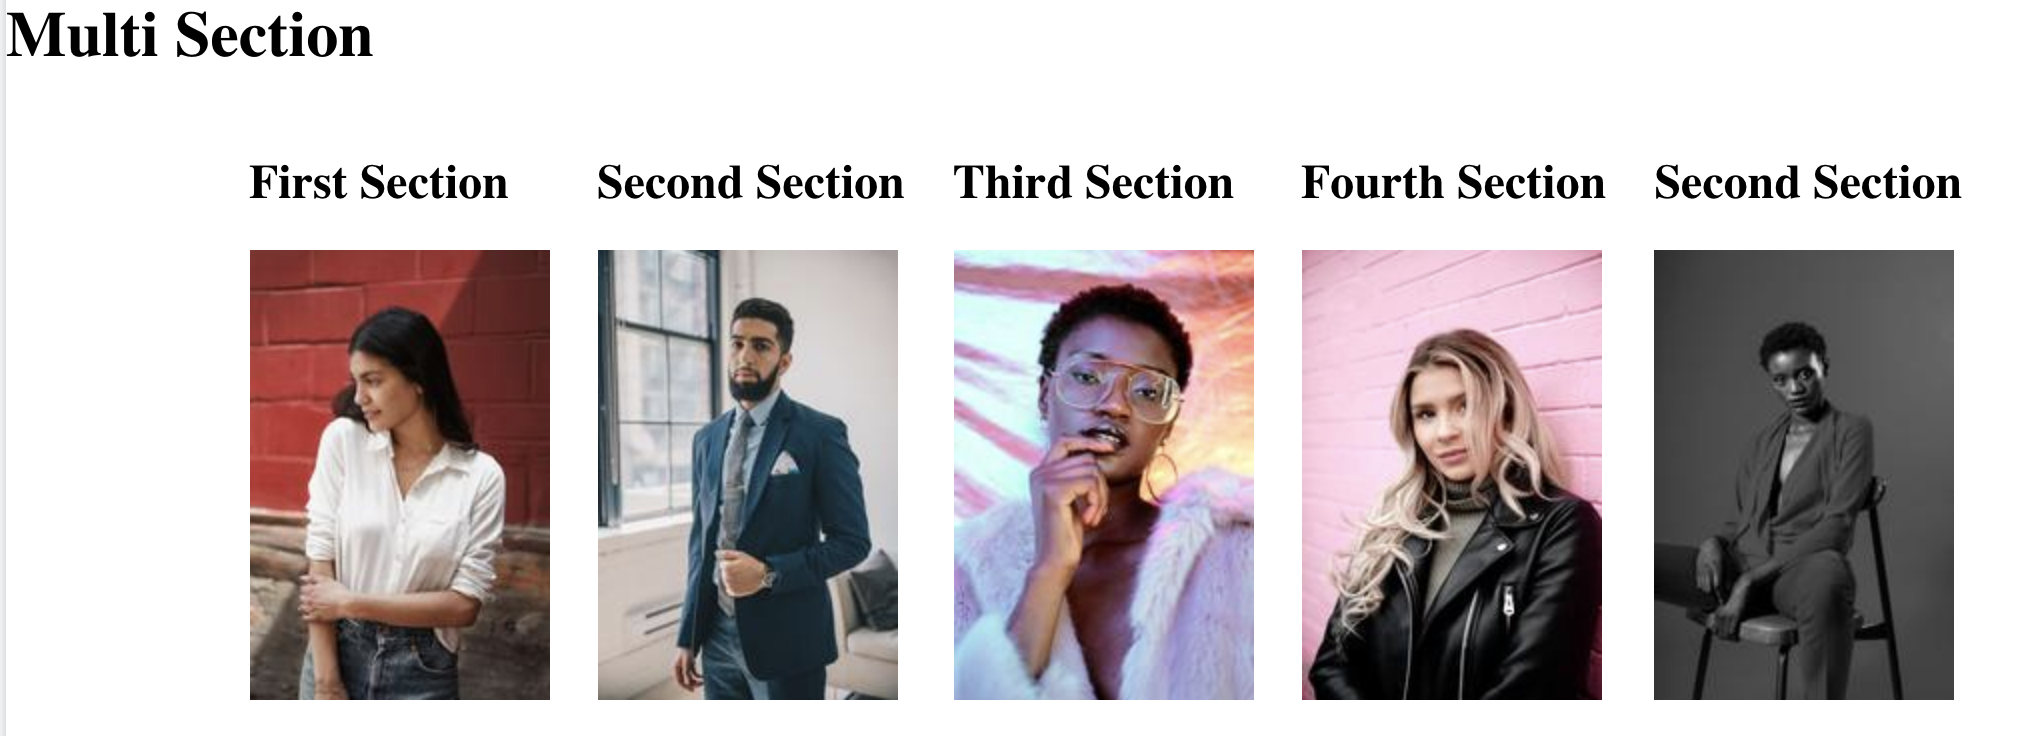
      Multi Section

      {% section 'multi-section' %}
Then create a new page in the Shopify admin and don't forget to change the page template.
Here's an example of what that page could look like.
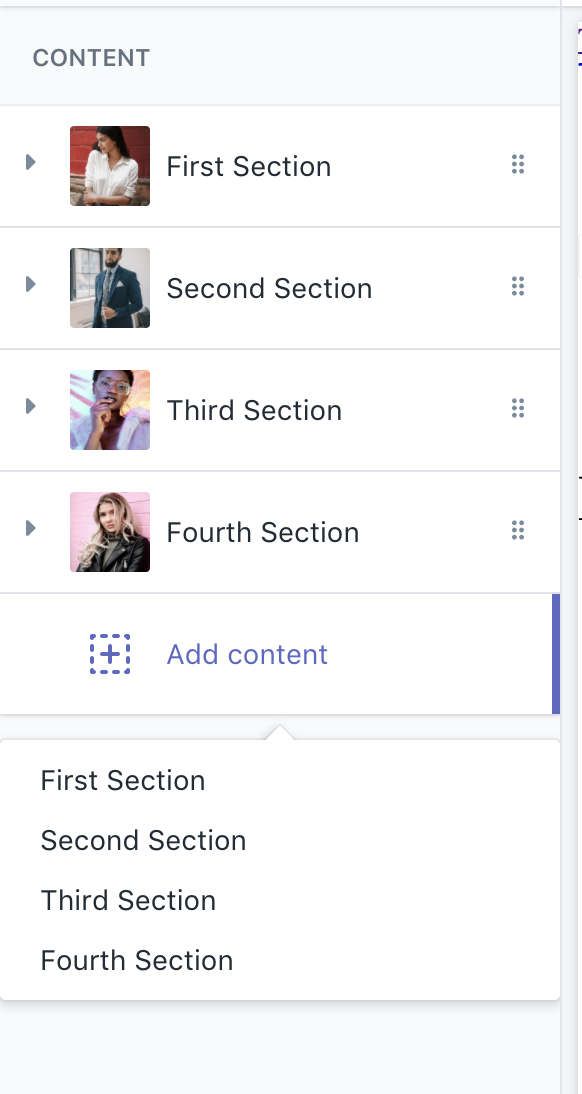
Using the admin interface
From the users perspective, all they need to do is go the the sections tab of the customizations page and choose the Multi Section section. Then they will be asked to add content. When this is clicked, they'll have the choice between each block type.
With minimal code dynamic blocks take customizations for your store to a whole new level. 🙌